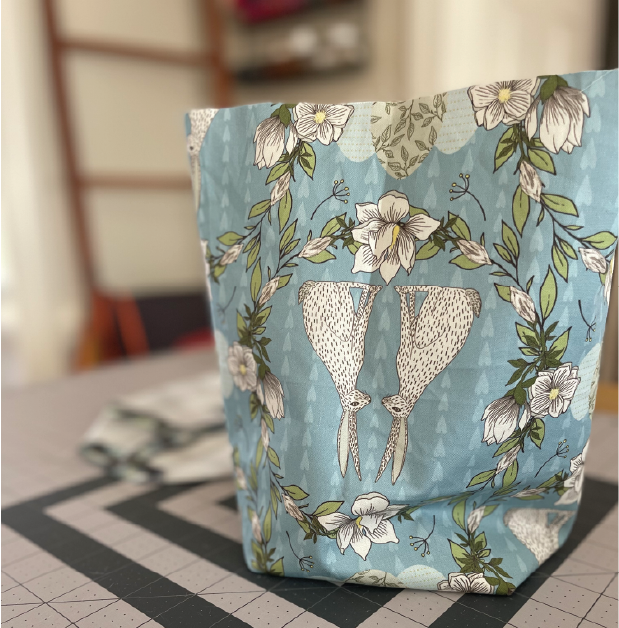
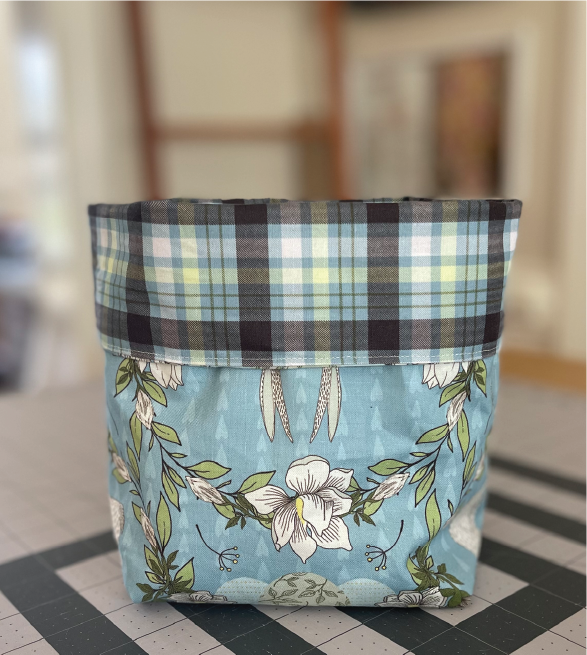
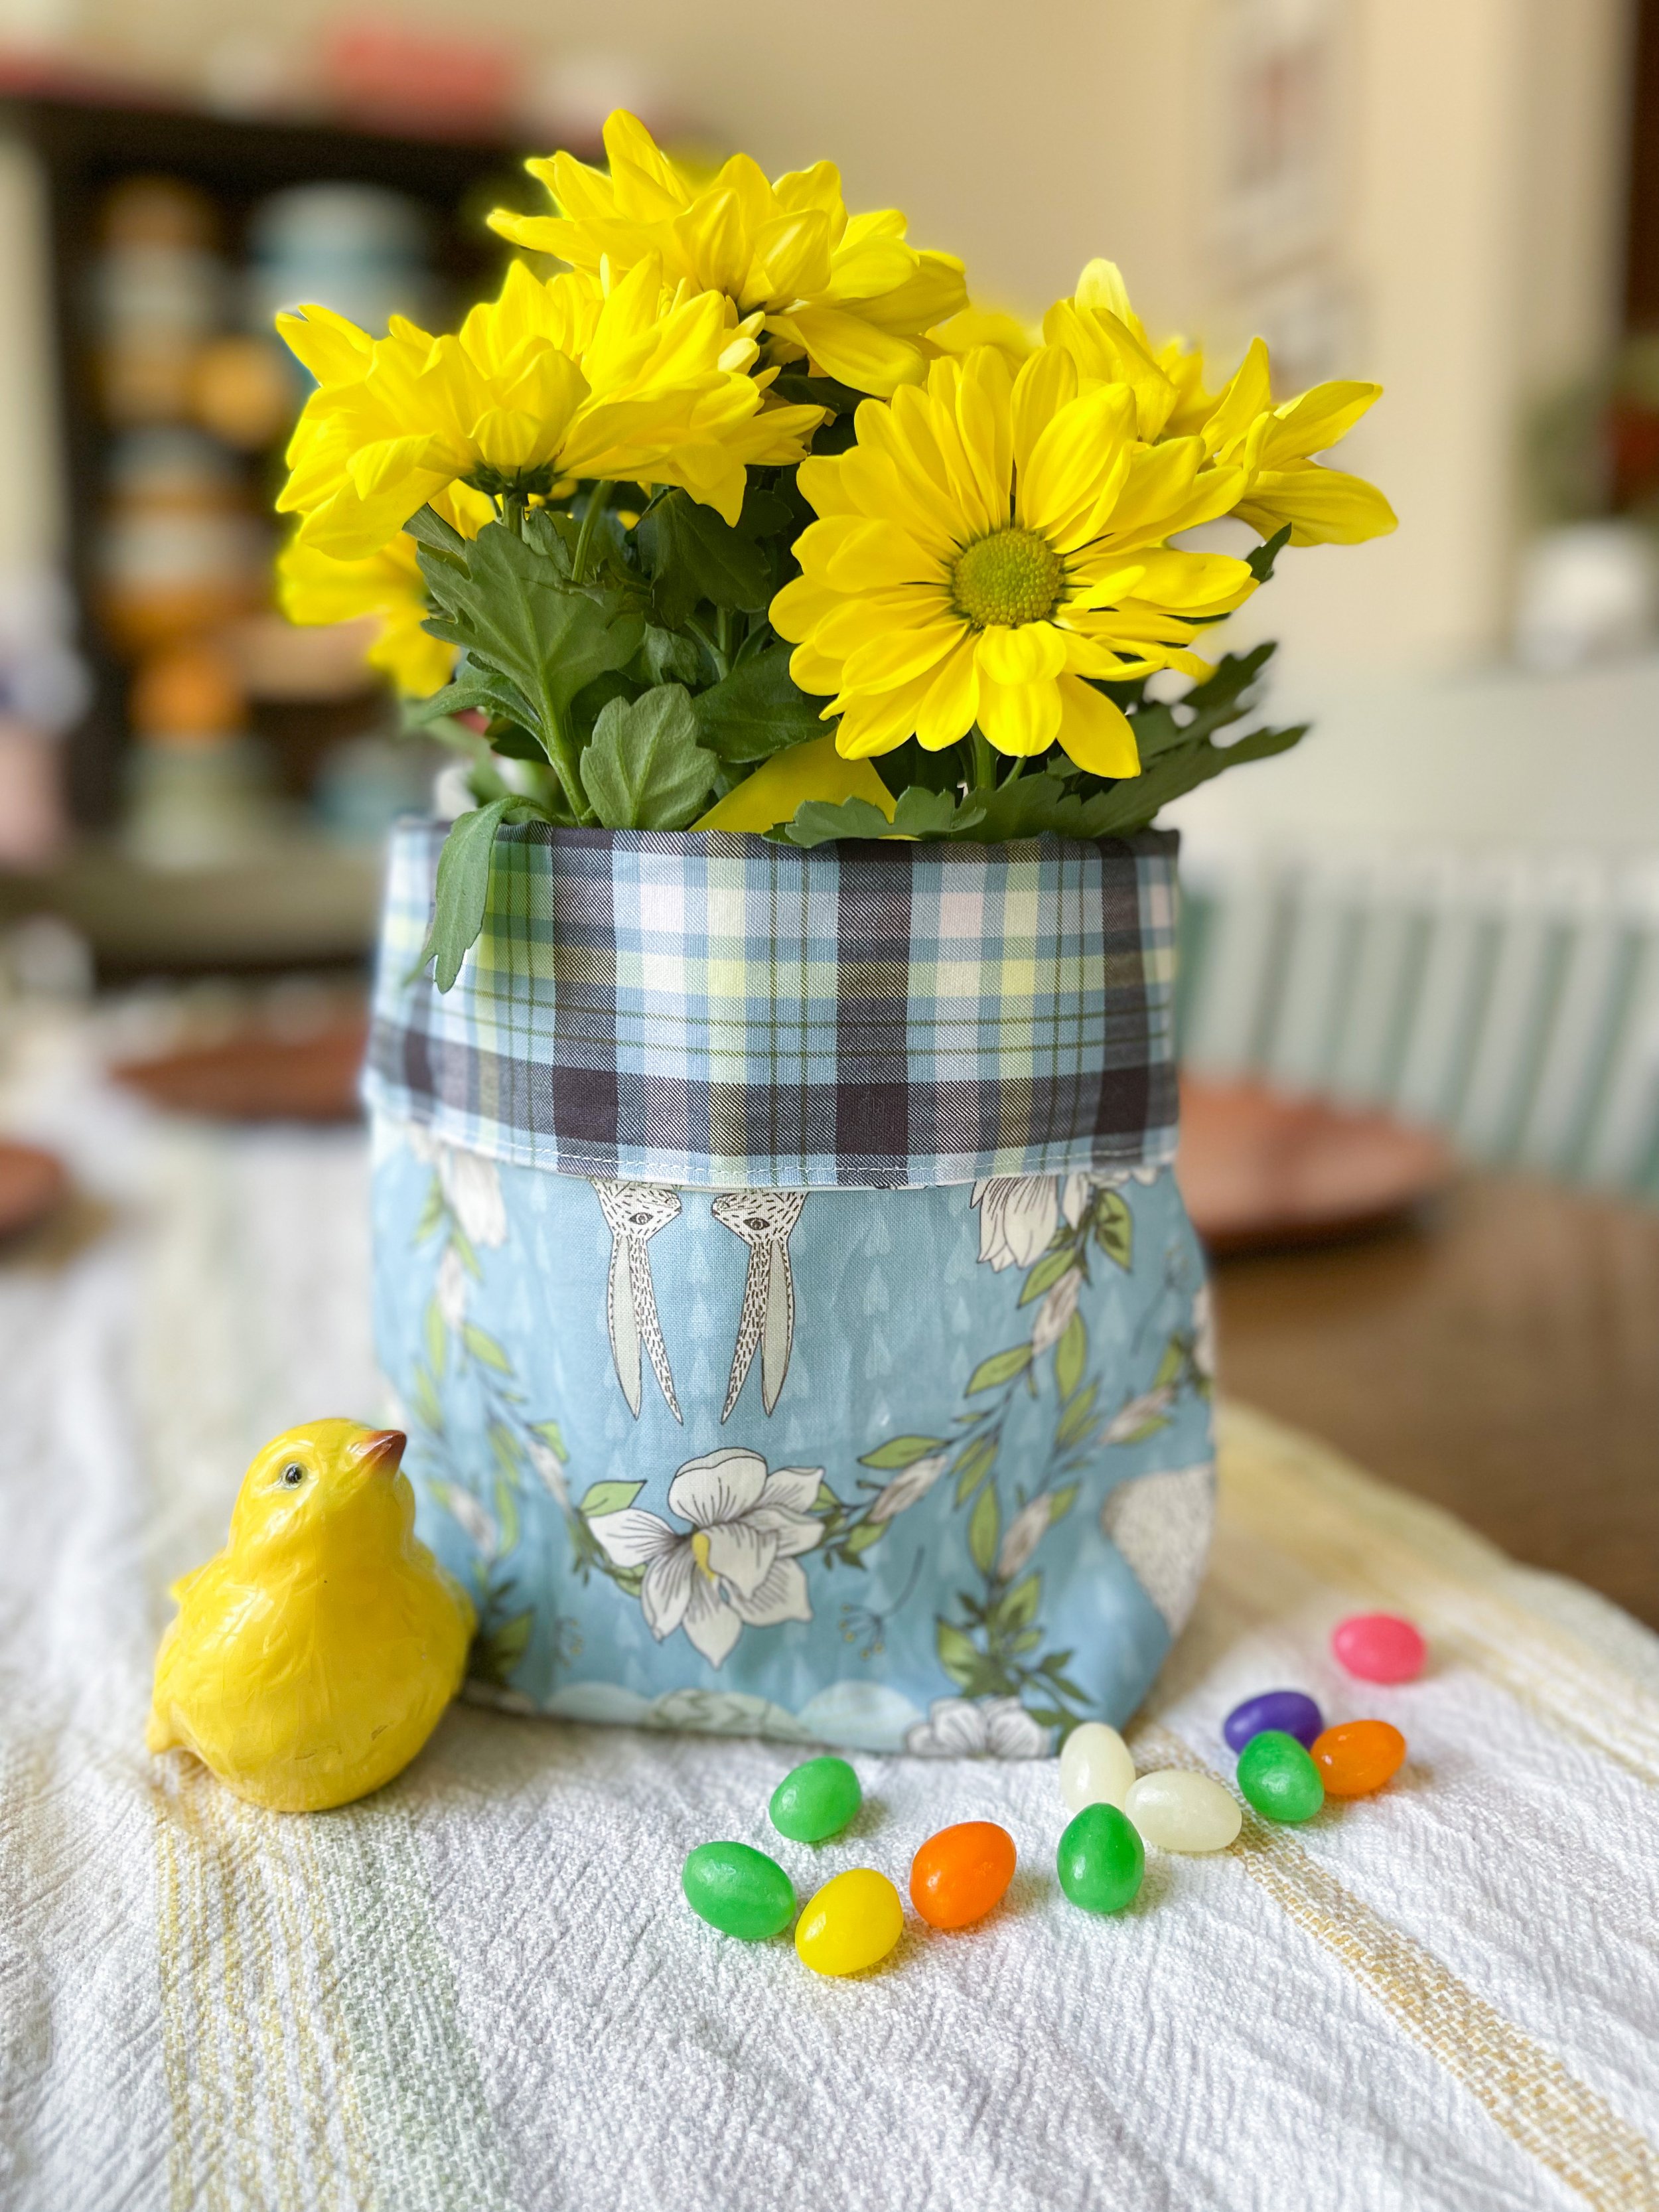
Easy Fat Quarter Planter Cover Tutorial

Materials Needed:

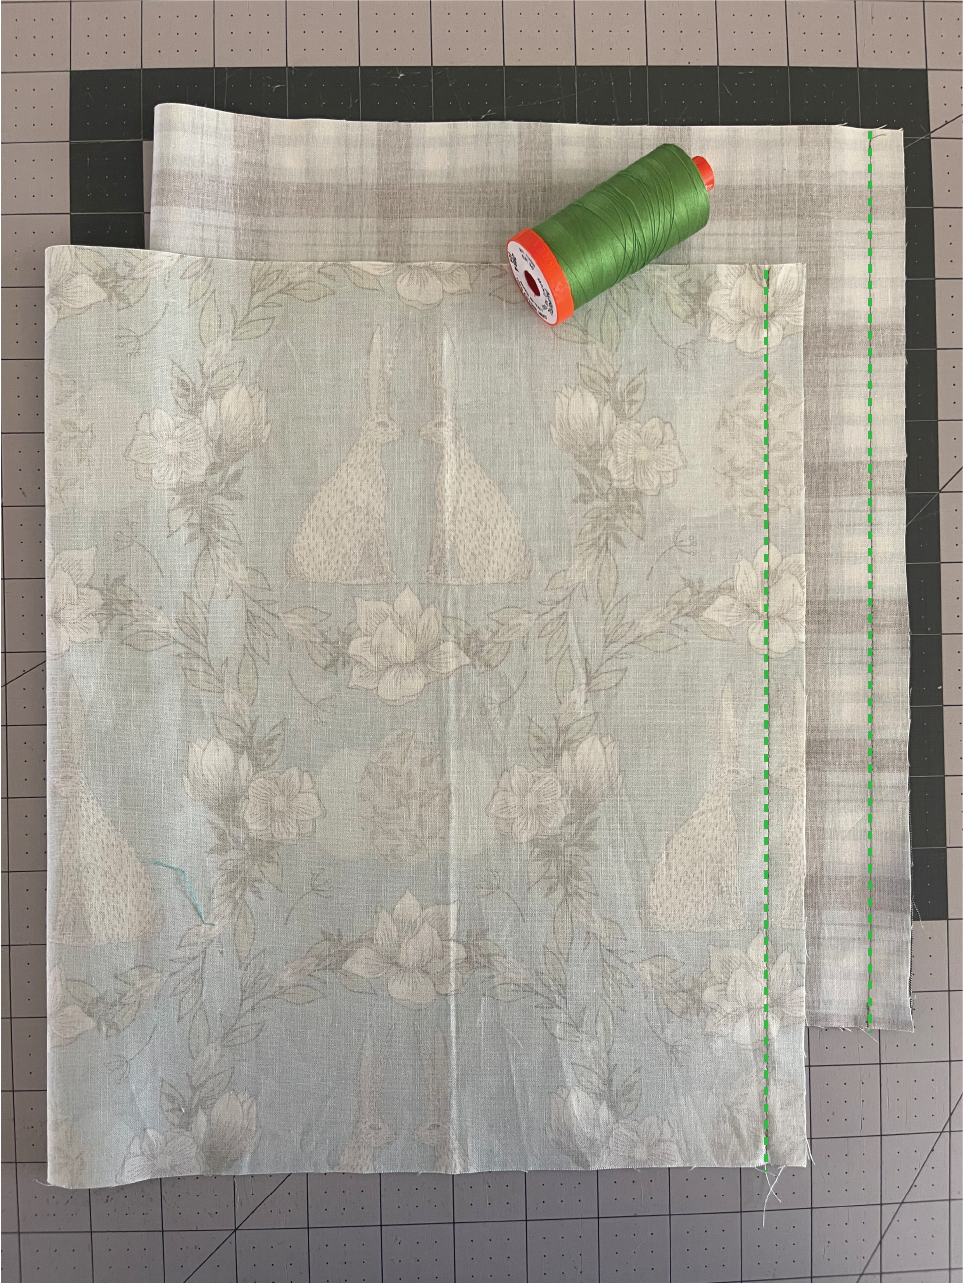
Exterior Fabric | 1 Fat Quarter cut to 12 1/2” x 21”
Lining Fabric | 1 Fat Quarter cut to 12 1/2” x 21”
Interfacing (such as SF101) | 11 1/2” x 20”
Coordinating thread
Marking Pen
Pins

  1. Center the 11 1/2” x 20” interfacing piece onto the wrong side of the exterior fabric piece. Follow the instructions on your interfacing to adhere the interfacing to the exterior fabric.

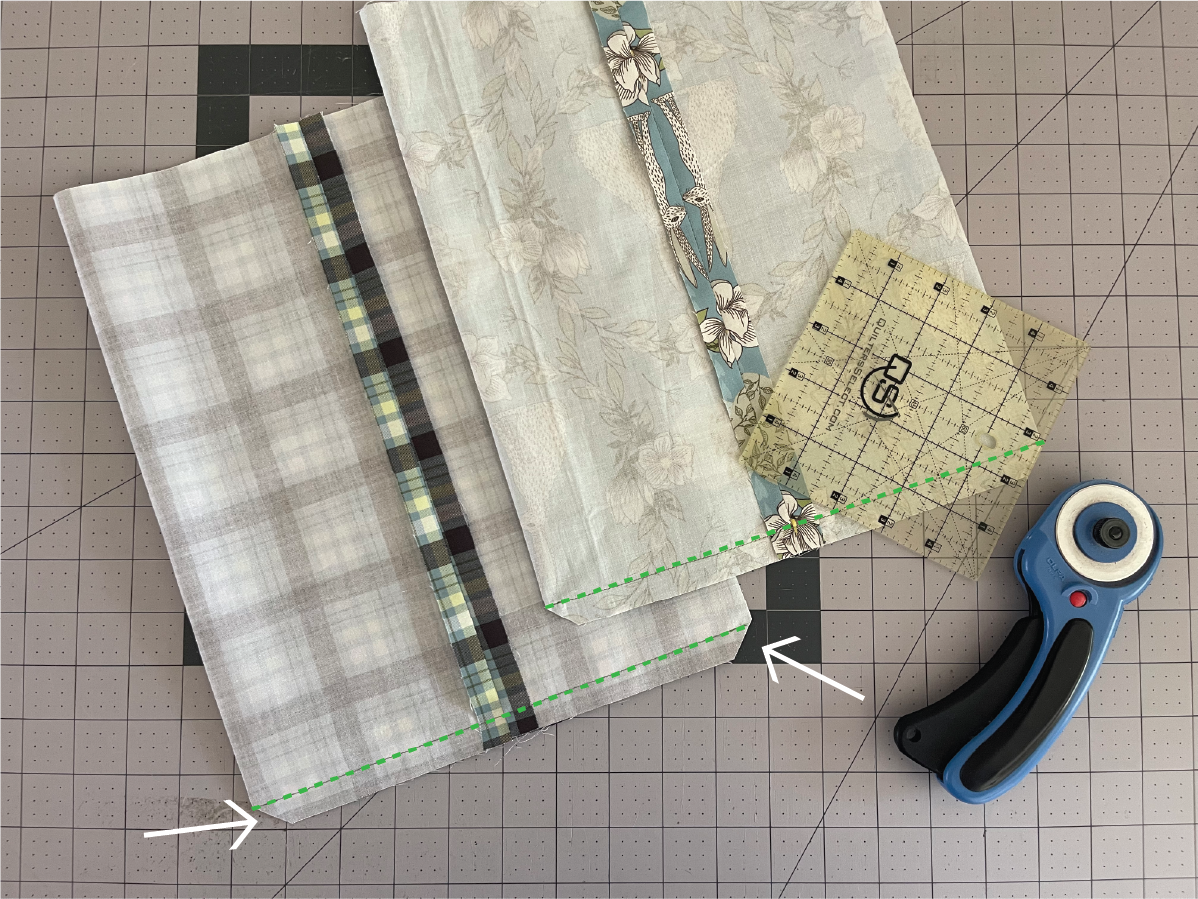
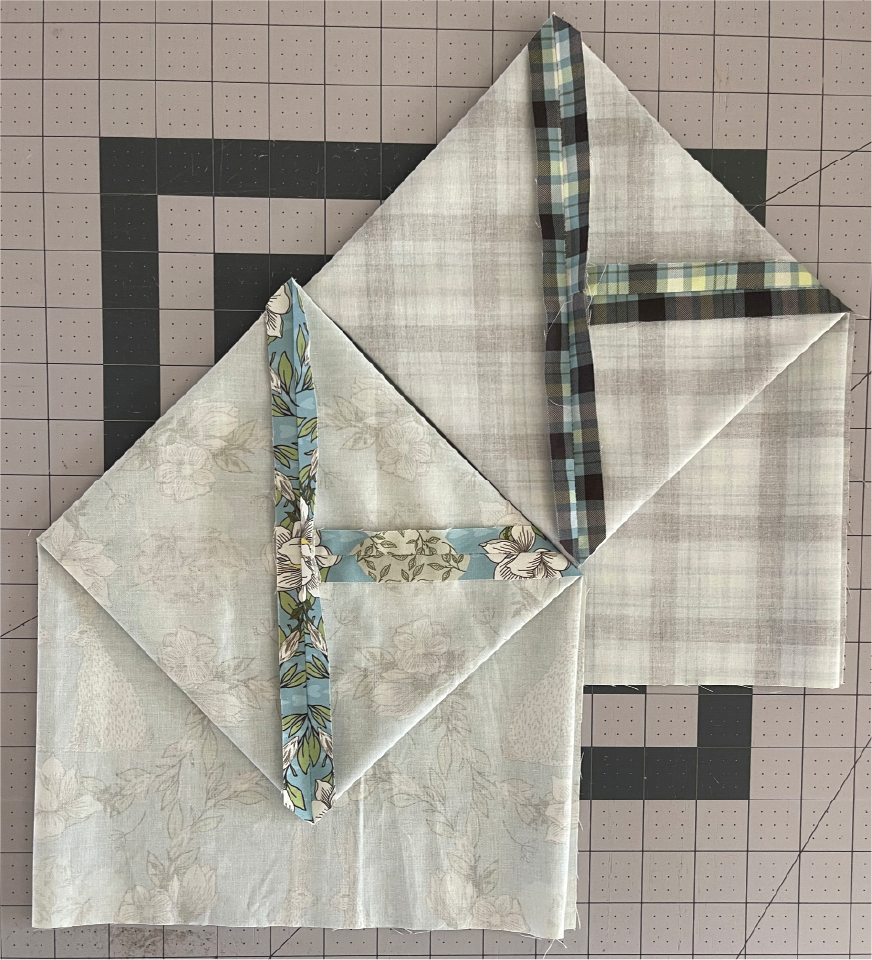
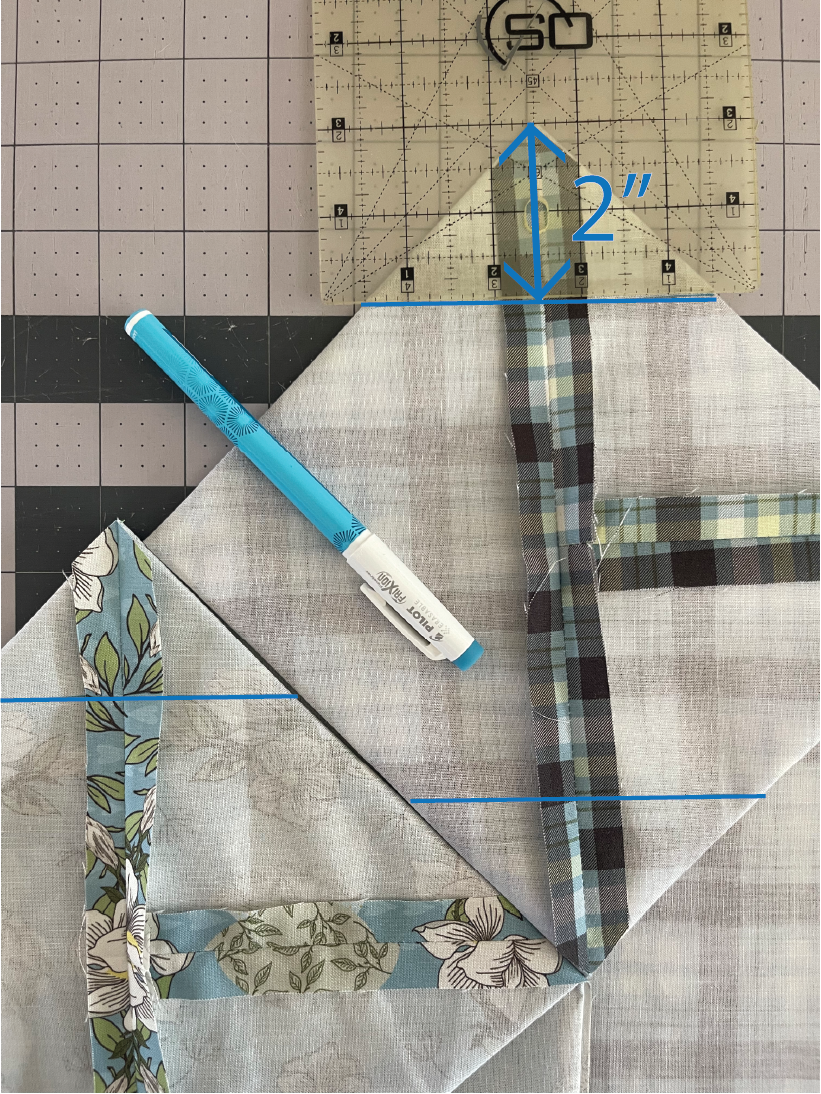
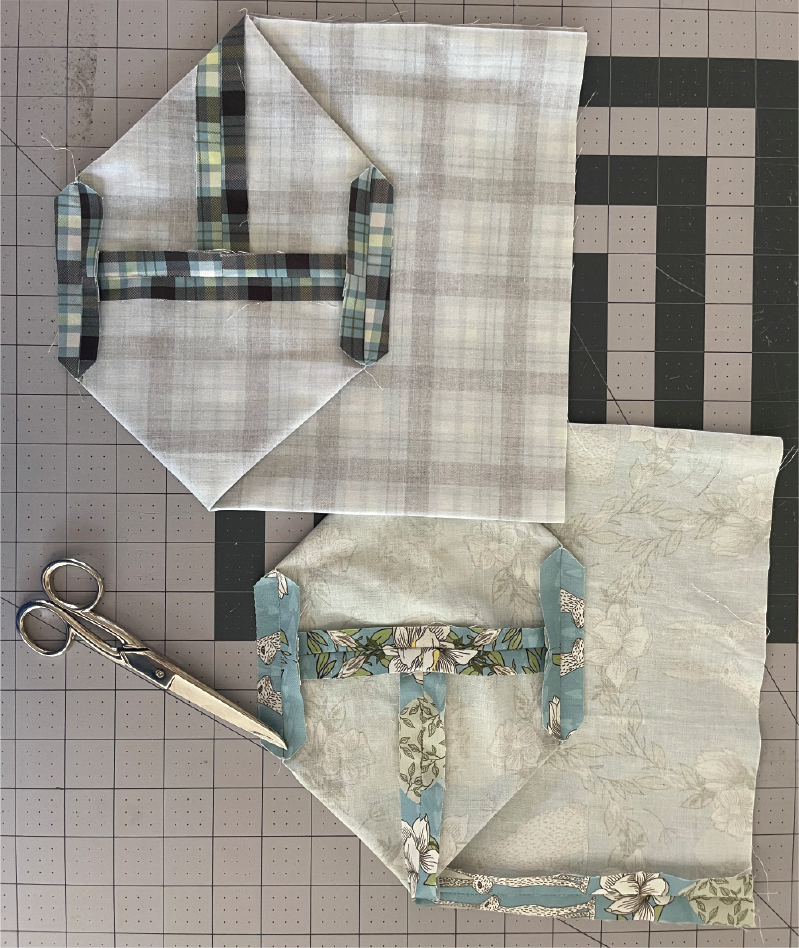
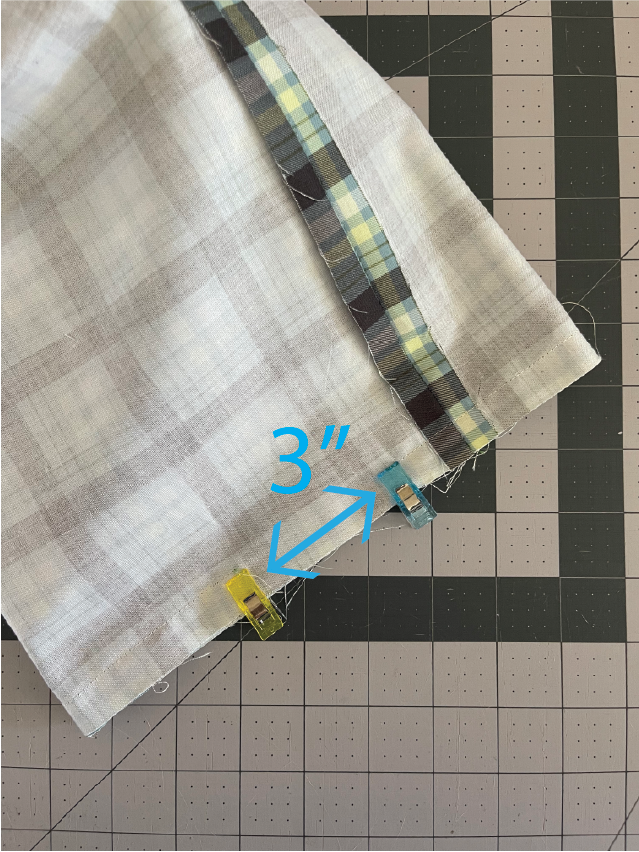
  2. Fold both the exterior and lining pieces in half, lining up along the raw edges. Sew along the raw edge using a 1/2” seam allowance. Press the seams open.

3. Sew a 1/2” seam along the bottom of both the lining and the exterior fabric. It’s important that you sew along the edge that you want to be the bottom, especial if you’re using a directional fabric.

4. Trim the corners, ensuring not to cut into your seam. Press the seam open.

5. Rotate the seam to the side and fold out the bottom , creating a 10” x 10” square.

6. Measure 2” from the top and bottom points and mark a line across on both the lining and exterior pieces. Sew across the marked lines.

7. Trim off the corner that were sewn through, leaving a 1/2” seam allowance.

8. Snip into the side seam so that you’re able to press the seams open. Be sure no to snip into your thread.

9. Turn your lining pieces right side out, shaping it to stand up.

10. Slide the exterior piece into your lining piece, lining up the raw edges and your seams. Pin it in place to sew. When sewing around the top edge you want to leave a 2” - 3” opening. I like to use either binding clips or different colored pins to mark my stopping and ending points. Be sure to back stitch at the beginning and end.

11. Pull the bag through the 3” opening so that it’s now right side out. Shape it, pushing the lining piece into the exterior piece. Press the top edge.

12. Top stitch along the pressed edge about 1/8” away from the edge. This closes the 3” opening and makes a clean finish.

13. Fold over the top edge of the planter cover until it’s at your desired height. It’s now ready to place a 6” - 8” planter inside.

Previous
Previous

Flying Geese Block Pattern Tutorial

Next
Next

Top 3 Methods for Sewing Half Square Triangles